What Is iCloud DNS Bypass for iCloud Locked iPhone/iPad

[ad_1]
If your iPhone or iPad has got locked or it came locked when you bought it, this guide offers a method to remove the activation lock using iCloud DNS bypass. Read on to find out what the procedure is and how you can perform it on your iOS-based device.
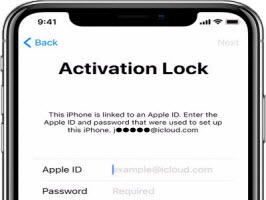
Sometimes, when you buy an old iPhone or iPad, you would find that your device has the Activation Lock enabled on it. This lock basically prevents unauthorized users from using the device. The only official way to get around this lock is to enter the username and password of the original device owner.
However, if you have no way to contact the original owner of the device, or if you have forgotten your Apple ID and password, you might want to bypass iCloud Activation Lock. iPhone iCloud can be bypassed via something like a DNS server to bypass the iCloud activation lock on your device. In fact, there is a service that helps you do just that and you can use it to unlock most Apple devices.
This guide tells you what an iCloud DNS bypass service is, what restrictions you would have if you used this service, and how you can use this method on your iPhone or iPad to remove the iCloud lock from it.
What’s more, in case iCloud DNS bypass is complicated and not working for some unexpected reasons, we also offer you another easier way to bypass the iCloud Activation lock. Please keep reading to find what it is.
What Is iCloud DNS Bypass on iPhone?
Before you go further and use the method to unlock your device, you would probably want to find out exactly what iCloud DNS bypass is and how it functions.
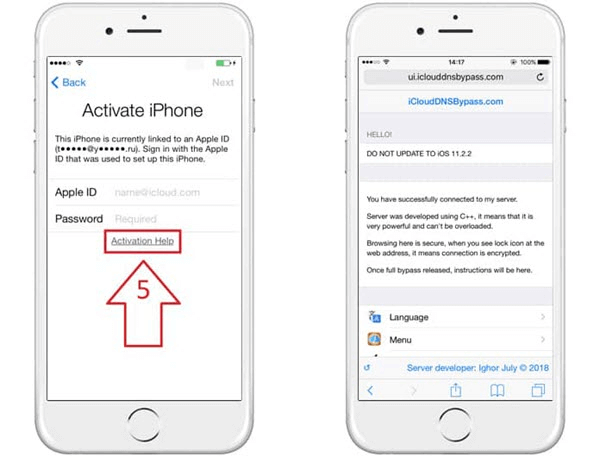
iCloud DNS Bypass
iCloud DNS bypass is a method to temporarily access an iCloud-locked device’s functions and features. DNS is the abbreviation for Domain Name Server and its purpose is to translate your domains into IP addresses. When you type in a domain name in your browser, your DNS server takes you to the relevant IP address on the Internet. When you try to activate your iPhone or iPad, your device actually first connects to the DNS and then reaches the Apple servers. Someway, you can inject some third-party domain name servers here and they will take your device to another server than where it is supposed to go. This server then helps unlock your device.
In other words, instead of connecting to the Apple servers, your device ends up connecting to custom servers that are specifically built to help you get rid of the activation lock from your device.
What Can iCloud DNS Bypass Do for You?
There are a plethora of things that an iCloud DNS bypass can do for you. Since you are now already aware of the principles behind this solution, you know that this service can actually unlock your device for you. Once the device is unlocked, you can use a number of applications for your device, browse the Internet, play most games, capture photos, record videos, and perform a number of other tasks on your expensive phone. This basically opens up most functions of your device allowing you to get the most out of your Apple device. But, with great things, comes limitations.
The Limitations of iCloud DNS Bypass
That is not a saying but rather a truth about unlocking your devices using iCloud DNS bypass service. iCloud DNS bypass is safe but there are certain limitations to this solution. It is best that you are aware of these restrictions before you attempt to unlock your device using the method.
Restricted Use of Features
When you use Apple ID and password to unlock the iCloud activation unlock, the lock fully gets removed from your device and you can use all of the features of the device. Sadly, that is not the case with an iCloud DNS bypass server. If you use this method, you can only access certain features on your phone
Not All Devices/iOS Versions are Compatible
Secondly, this method does not work for all the iPhone and iPad models out there. Generally, you can use this method only on older iOS versions like iOS 8 and 10. It is highly unlikely that this method will work on the latest iOS versions.
No Guarantee
Since it is just a bypass method, there is no guarantee or assurance that it will work for sure. Your device may or may not get unlocked with this method. You are doing it at your own risk.
It’s a Workaround
You should know that this is just one of the many workarounds to unlock the Activation Lock on your device. It is no way near to the actual and official unlock that you can avail of from other online services.
How to Use DNS Bypass Activation Lock
Now that you know what you need to do about iCloud DNS bypass servers, you might want to actually try the method and see if that helps remove the lock from your devices. There are actually two ways for you to apply the method and get rid of the lock from your iPhone or iPad.
The first thing that you are going to do is to connect your device to a WiFi network. The second thing that you will need to do is to change the DNS servers. You will learn how to do that in the sections below.
Steps to Use iCloud DNS Bypass
Here comes the part where you actually implement the method and unlock the activation lock on your iOS-based device. You will be entering third-party DNS servers for your WiFi network on your device, and that will then begin to unlock it.
Make sure your device is sufficiently charged to perform this procedure. Ideally, your phone should have at least 80% battery left on it before you start the procedure.
Then, follow the following steps and get your device unlocked.
Step 1. Turn on your device and choose a language and country from the available options.
Step 2. When you get to the page where you see a WiFi network, tap the” i “option next to your WiFi network and this will open the details page for it.
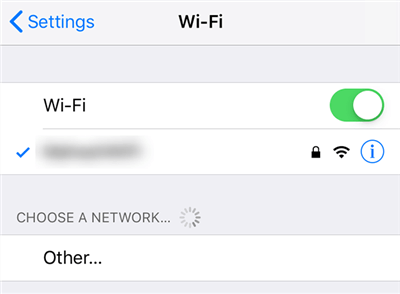
Access the WiFi Settings
Step 3. On the resulting screen, tap on the option that says Configure DNS and it will let you add custom DNS to your phone.
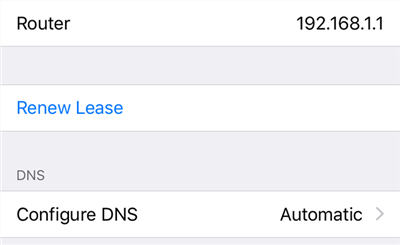
Set Up DNS Servers for the WiFi Network
Step 4. Select Manual at the top and then enter one of the following DNS servers in the input field. Use the DNS server that applies to your region.
USA: 104.154.51.7
Europe: 104.155.28.90
Asia: 104.155.220.58
South America: 35.199.88.219
Australia and Oceania: 35.189.47.23
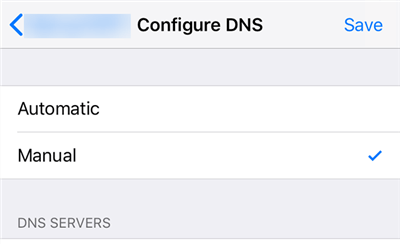
Use iCloud Bypass DNS Servers
Step 5. Go back and do not proceed with the prompt on your screen. Hit back again and you will see the DNS server screen. You can then configure the options available on your screen.
Use iCloud DNS Bypass “Crash”
You may confuse that why you still cannot use all the features that your device has to offer, and that is because those are still locked. This is where a feature like Crash comes into the picture.
The crash is an option that you will find on your iOS device after you have used the above method to unlock the device. This option allows you to fully unlock your device so you can use all of its features. This does not require following a lengthy procedure, and all you basically need to do is tap an option and you are good to go.
Step 1. Select Menu followed by Applications on your device.
Step 2. On the following screen, you will find an option that reads Crash. Tap on this option and your iOS device will automatically reboot. This is totally normal and you do not need to panic.
Step 3. Select your country and language, tap Home, and choose More WiFi Settings.
Step 4. Tap the field that says Configure Proxy and select Manual.
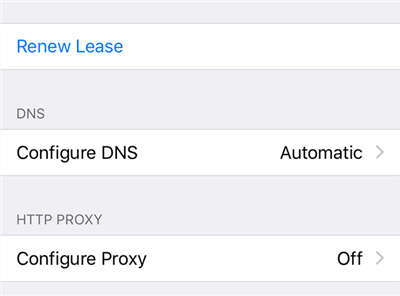
Configure Proxy for the WiFi Network
Step 5. In the server field, enter 30 unique emojis. Use 8888 as the port number. Then, tap Save at the top.
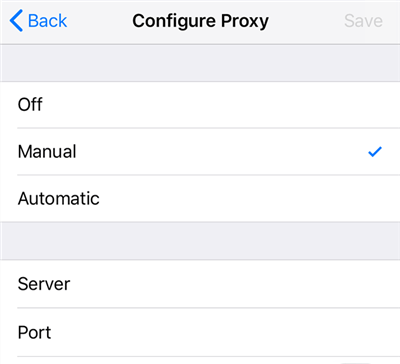
Enter Proxy Details
Step 6. Go back and then go forward and you will be on the unlock screen. Pressing the Home button should unlock the device.
As long as you do not reboot your device, your device will remain fully unlocked. If the iCloud DNS bypass is not working, you will need to try it a few times before you eventually succeed.
What to Do When iCloud DNS Bypass Not Working?
Due to the restrictions of iCloud DNS bypass limitations, a group of people have reported that they fail to bypass the iCloud Activation Lock by using iCloud DNS. AnyUnlock – iCloud Activation Unlocker, here, gives you an alternative solution. It is an unlocking tool that can help you successfully bypass the iCloud activation lock without Apple ID and password, and allow you to use your phone normally. It is characterized by fast, simple, and reliable. Whether you get a second-hand iPhone that is stuck in the iCloud Activation Lock, or you don’t know the Apple ID password while encountering the “Activation Lock” screen, you can use this tool to bypass iCloud Activation Lock as well.
AnyUnlock – iCloud Activation Unlock
AnyUnlock – iCloud Activation Unlock can help you bypass the iCloud activation lock without the Apple ID or password. It can also help you check if the iCloud activation lock is on or if the device is changed, quickly finding logged-in Apple ID and information if you forgot.
Step 1. Install the latest version of AnyUnlock – iCloud Activation Unlock and open it on your computer > Connect your iOS device to the computer via a USB cable > Click on the Bypass iCloud Activation Lock on the left panel.
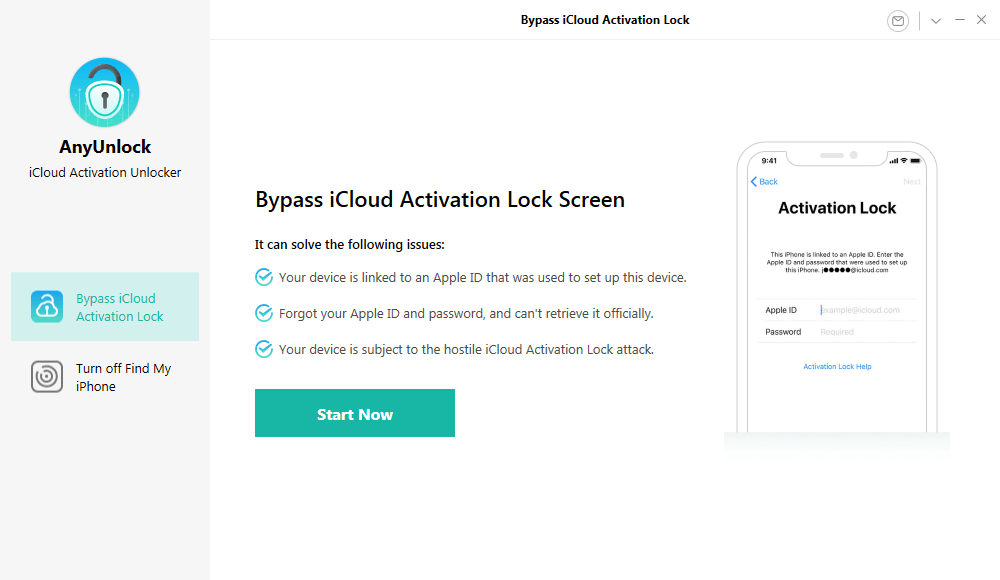
Click on Start Now to Bypass iCloud Activation Lock
Step 2. In order to bypass iCloud Activation Lock, you need to have it jailbroken. Click and read the Terms of Use and click on the Start Now button to proceed to the jailbreaking steps.
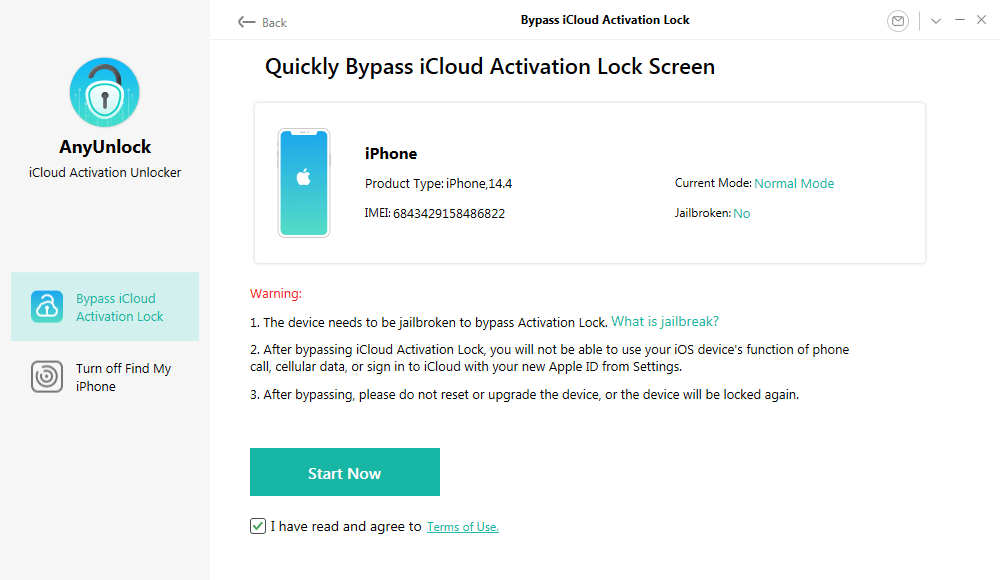
Connect Your iOS Device to the Computer
Step 3. You can either jailbreak the device yourself or by following the recommended jailbreak tutorial. Once the jailbreaking process completes, please click on the Next button to bypass iCloud Activation Lock.
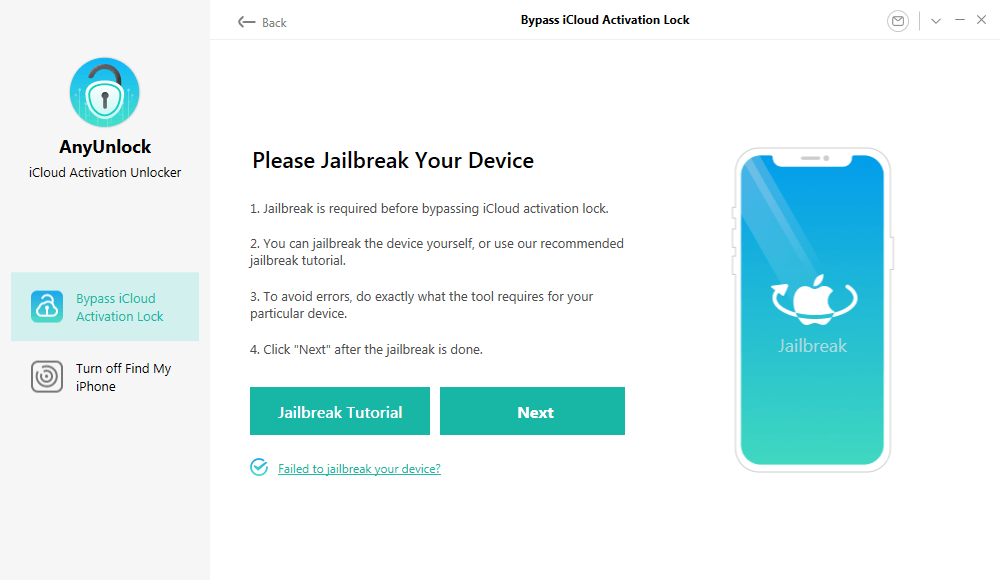
Jailbreak Your Device
Step 4. Before starting to bypass the iCloud lock, please confirm the information of your device, involving product type, ECID number, etc.
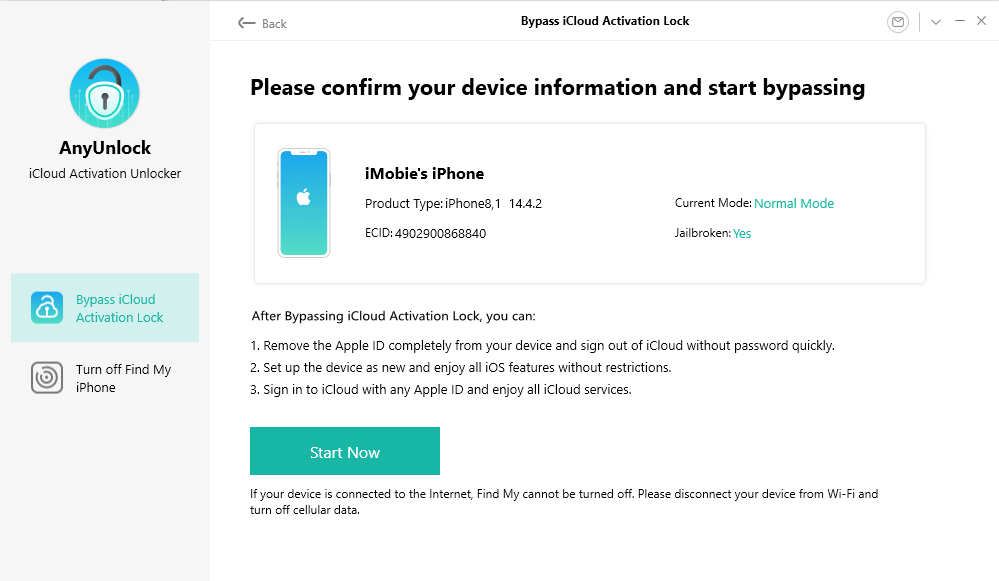
Confirm Your Device Information and Start Bypassing
Step 5. After clicking on the Start Now button, the program will automatically bypass the iCloud Lock. It may take some time so please keep patient.
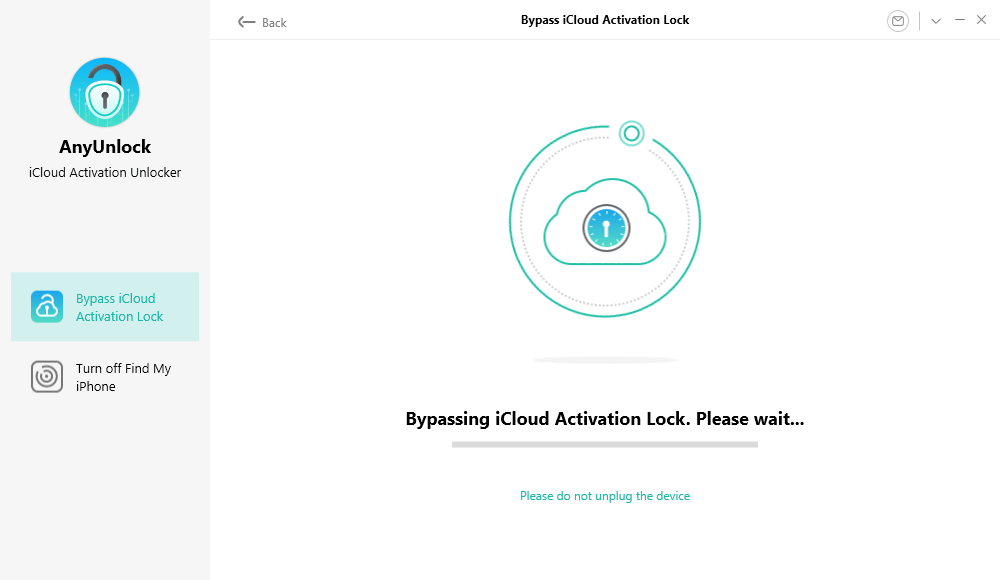
Bypassing iCloud Activation Lock
Step 6. When the bypassing procedure completes, you will see the information – iCloud Activation Lock is bypassed successfully.
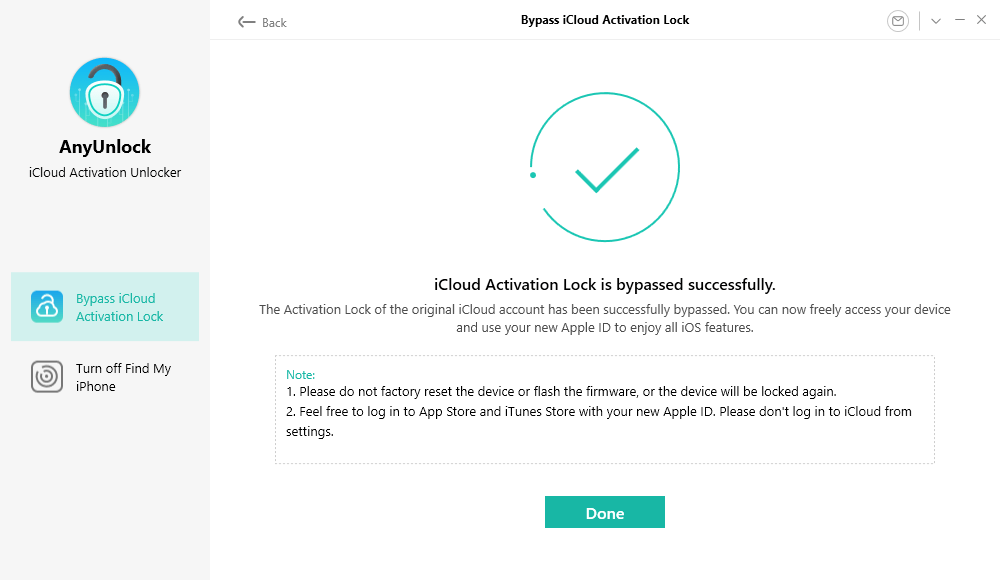
iCloud Activation Lock Is Bypassed Successfully
On the other hand, if you are a Mac owner, instead, please refer to the following guide to bypass iCloud Activation Lock on your Mac computer.
Step 1. Download and install the newest version of AnyUnlock – iCloud Activation Unlocker > Connect your iPhone to computer with a USB cable > Choose Bypass iCloud Activation Lock from the homepage, and click the Start button.
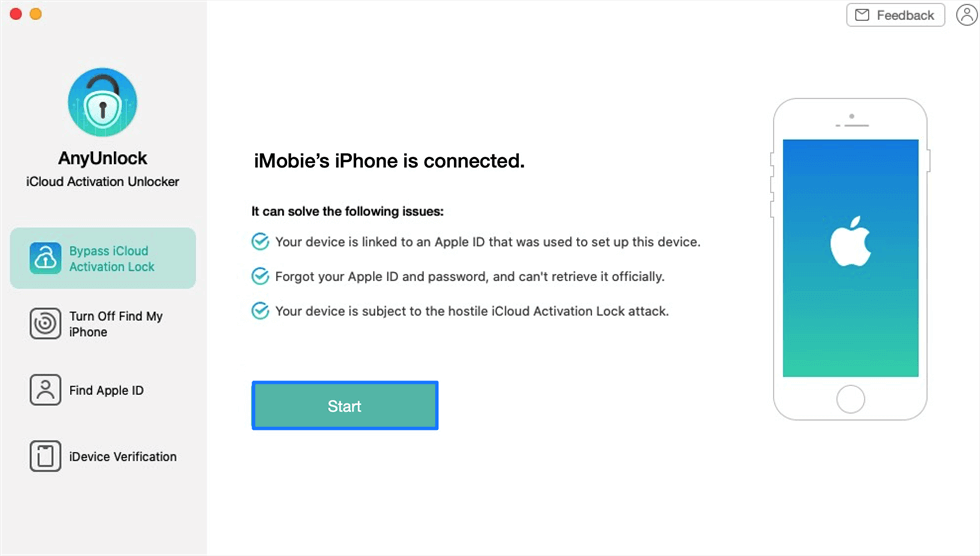
Click on the Start to Go On
Step 2. Please note that it requires your iPhone to be jailbroken, so click the Start Jailbreaking button to enter the jailbreaking process > Then read the “Terms of Use” carefully before using and click the Confirm button. Then it will proceed to the jailbreak tool downloading page.
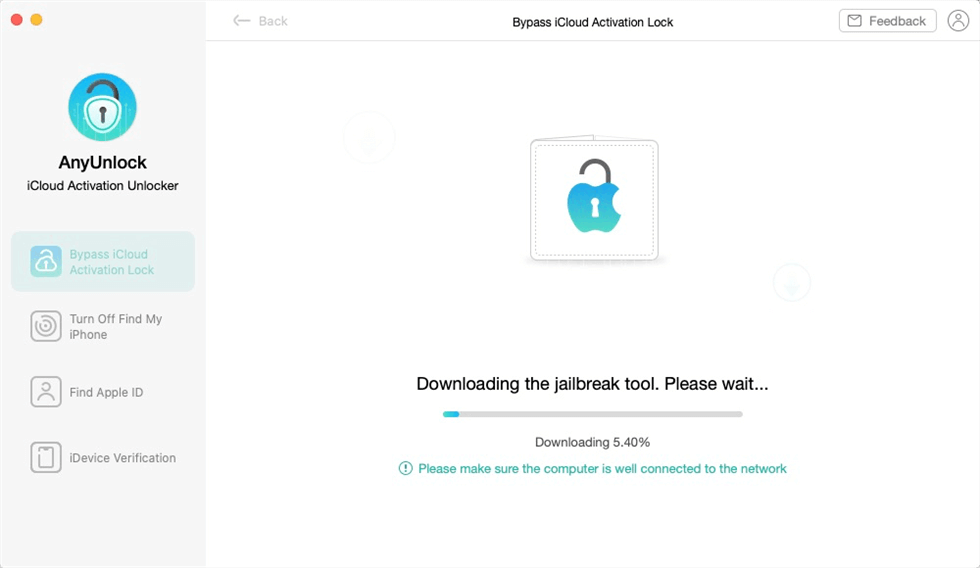
Download the Jailbreaking Tool
After the jailbreaking, some features on your iPhone may not available: You can not use Phone Calls, Cellular Data, can not make FaceTime calls or send iMessages, and cannot sign in to iCloud with your new Apple ID from Settings.
After bypassing, please do not reset or upgrade the device, or the device will be locked again.
Currently, AnyUnlock – iCloud Activation Unlocker only supports devices running iOS 12.3 and above(iOS12.4.5 & 12.4.6 excluded).
Step 3. Please wait for a few minutes, it will download a right jailbreak tool for your iOS device > Then, if your phone does not enter the DFU mode, you need to do that by following the on-screen guide and the jailbreaking process will start immediately.
Step 4. When your iPhone is jailbroken, tap on Bypass Now.
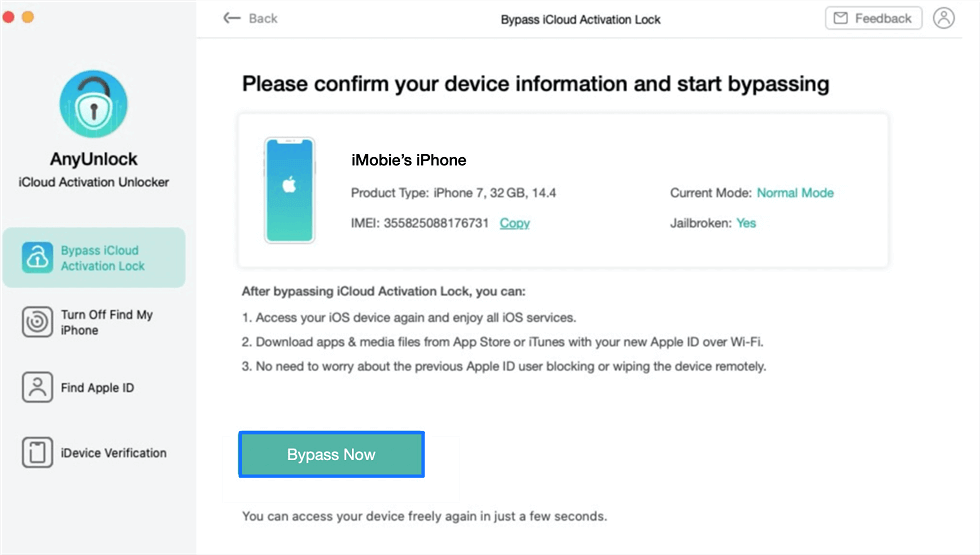
Tap on Bypass Now to Start Bypassing
Step 5. Wait the bypassing process finished, and you will see the interface below.
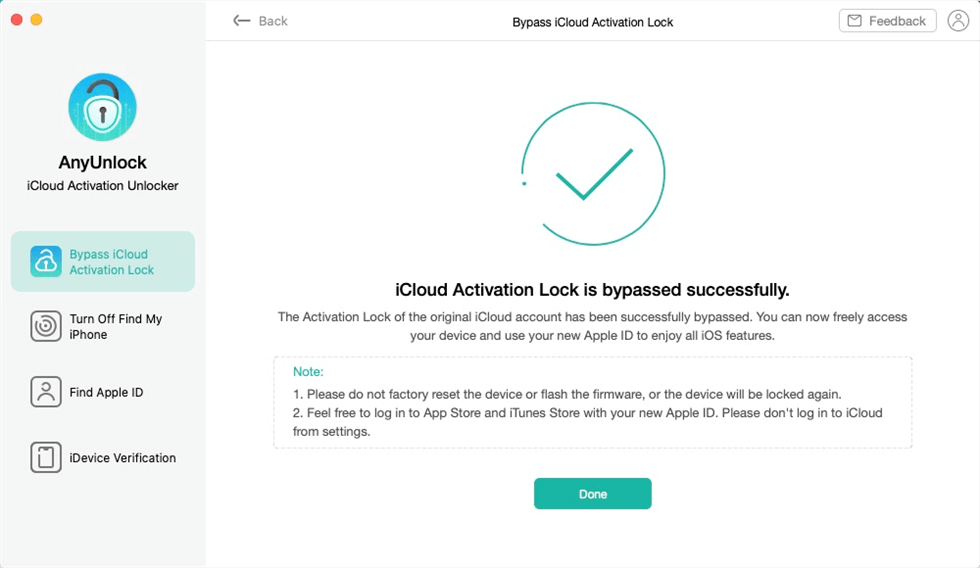
iCloud Activation Lock Is Bypassed Successfully
The Bottom Line
iCloud DNS bypass may is a common method that lets you remove the activation lock from your iPhone and iPad devices. Whether it ends up working or not, you can at least give it a go and see what it does. However, if it doesn’t work for your device, why not try AnyUnlock – iCloud Activation Unlocker?
[ad_2]
